
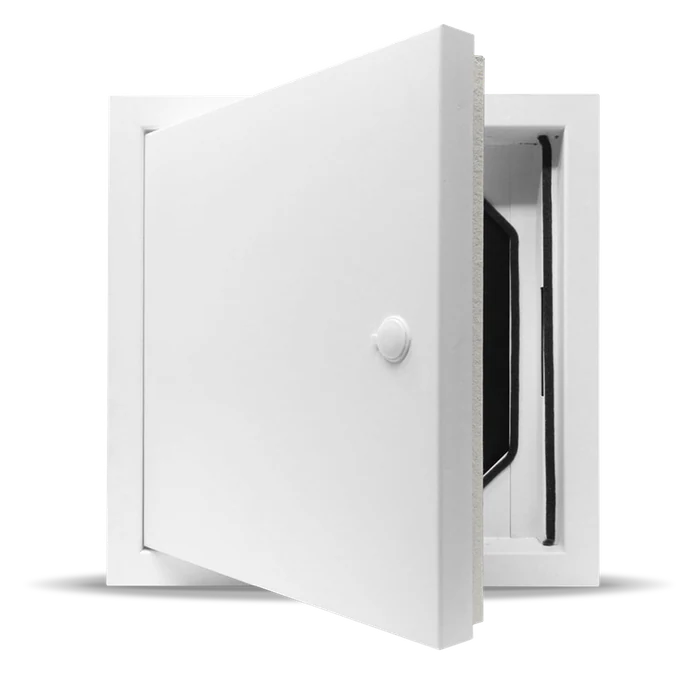



Extending the size of your loft hatch opening – introduction
Extending the size of your loft hatch opening in your home can be a rewarding project. By extending the length of the loft hatch opening in a trussed roof, you can improve the access to additional storage or even a small living space without the need for a major renovation. Trussed roofs are commonly found in modern homes, and with the right tools and techniques, you can successfully extend your loft hatch opening. In this step-by-step guide, we’ll walk you through the process to help you make the most of your loft space.
Additional information – Loft hatch sizes
Most mass produced loft hatches have a width of 520 – 560mm, this is to ensure they fit the standard truss spacing which sees roof trusses spaced at 600mm centres. The length of the hatch can also vary depending on factors like budget and available space for the loft hatch to be fitted into. As the UK’s largest stockist of loft hatches we have something for everyone, view our range of standard loft hatches here. Alternatively if a standard size loft hatch will not fit we can make loft hatches to custom sizes, click here to view our range of made to measure loft hatches.
Step 1: Safety First
Before you start any DIY project, safety should be your top priority. When working in your attic, be sure to wear appropriate safety gear, including a dust mask, goggles, gloves, and a hard hat if necessary. Additionally, make sure the loft is well-ventilated to prevent the accumulation of harmful fumes.
Step 2: Assess Your Trussed Roof
Trussed roofs are designed to provide structural support to your home, and altering them without proper knowledge can be risky. Before extending your loft hatch opening, it’s crucial to assess the roof’s structure. Look for any signs of damage or weakness in the trusses, and if you have any doubts, consult a structural engineer or a professional builder for guidance.
Step 3: Gather the Necessary Tools and Materials
To extend your loft hatch opening, you’ll need the following tools and materials:
- Screwdriver
- Measuring tape
- Pencil
- Handsaw, Hack saw, plasterboard saw
- Hammer
- Nails or screws
- 4 x 2 timber
- Dust sheets
- Vacuum cleaner
- New loft hatch
- Loft ladder (if desired)
- Note, you might also need additional lights when working in your loft
Step 4: Plan the Hatch Extension
Lift any insulation to expose any pipes or cables which may run through the area you are wanting to extend your loft opening to. If pipes / cables are present you’ll have to assess the viability of moving them, always seek advice from professionals. Assuming the area you want to extend the loft hatch opening into is clear, remove the noggin* forming the existing opening (*Noggin is the short piece of timber running between the roof trusses, they’re normally nailed in place). From inside the loft mark out the area of ceiling plasterboard you’ll need to remove, ensure it aligns with the trusses.
Step 5: Cut the new loft opening
Place dust sheets below the area you’ll be working. Then using a plasterboard saw carefully cut along the marked lines to create the new opening for your loft hatch. A good tip is to cut from underneath the ceiling, this ensures the least damage to the plasterboard.
Step 6: Reinforce the Opening
Install a new noggin between the trusses. Note this forms the new opening of the entrance to the loft and need to be fixed in place using nails or screws of a suitable length. As a guide we’d suggest at least 75mm based on this being approximately 3 x the thickness of a typical roof truss.
Step 7: Fit your new loft hatch
Offer up your new loft hatch into the loft opening and screw fix it into place.
Step 8: Install the Loft Ladder (Optional)
If you plan to use the attic space frequently, consider installing a loft ladder for easy access. Follow the manufacturer’s instructions for proper installation, ensuring it is securely fixed to the attic floor.
Step 9: Finishing Touches
Clean any marks off your new loft hatch and clear up any debris. A shameless plug, but Sika’s Wonder Wipes are fantastic for cleaning up after building work.
Conclusion
Extending a loft hatch opening in a trussed roof can be a rewarding DIY project, creating valuable additional acces to store bigger items in your loft space. However, it’s crucial to approach this task with caution and attention to detail, prioritising safety and structural integrity. If you’re unsure about any aspect of the project, don’t hesitate to seek professional guidance. With the right tools, materials, and a careful approach, you can successfully extend your loft hatch and unlock the full potential of your loft space. To view our range of loft hatches please click here.